LED lamp wooden cube

This was my first Arduino project. I built a straightforward, battery-operated LED lamp that reacts to knocks on its top. It is fairly bright, consuming about 7W when active, and can run for roughly 3 hours on a full charge.
The enclosure
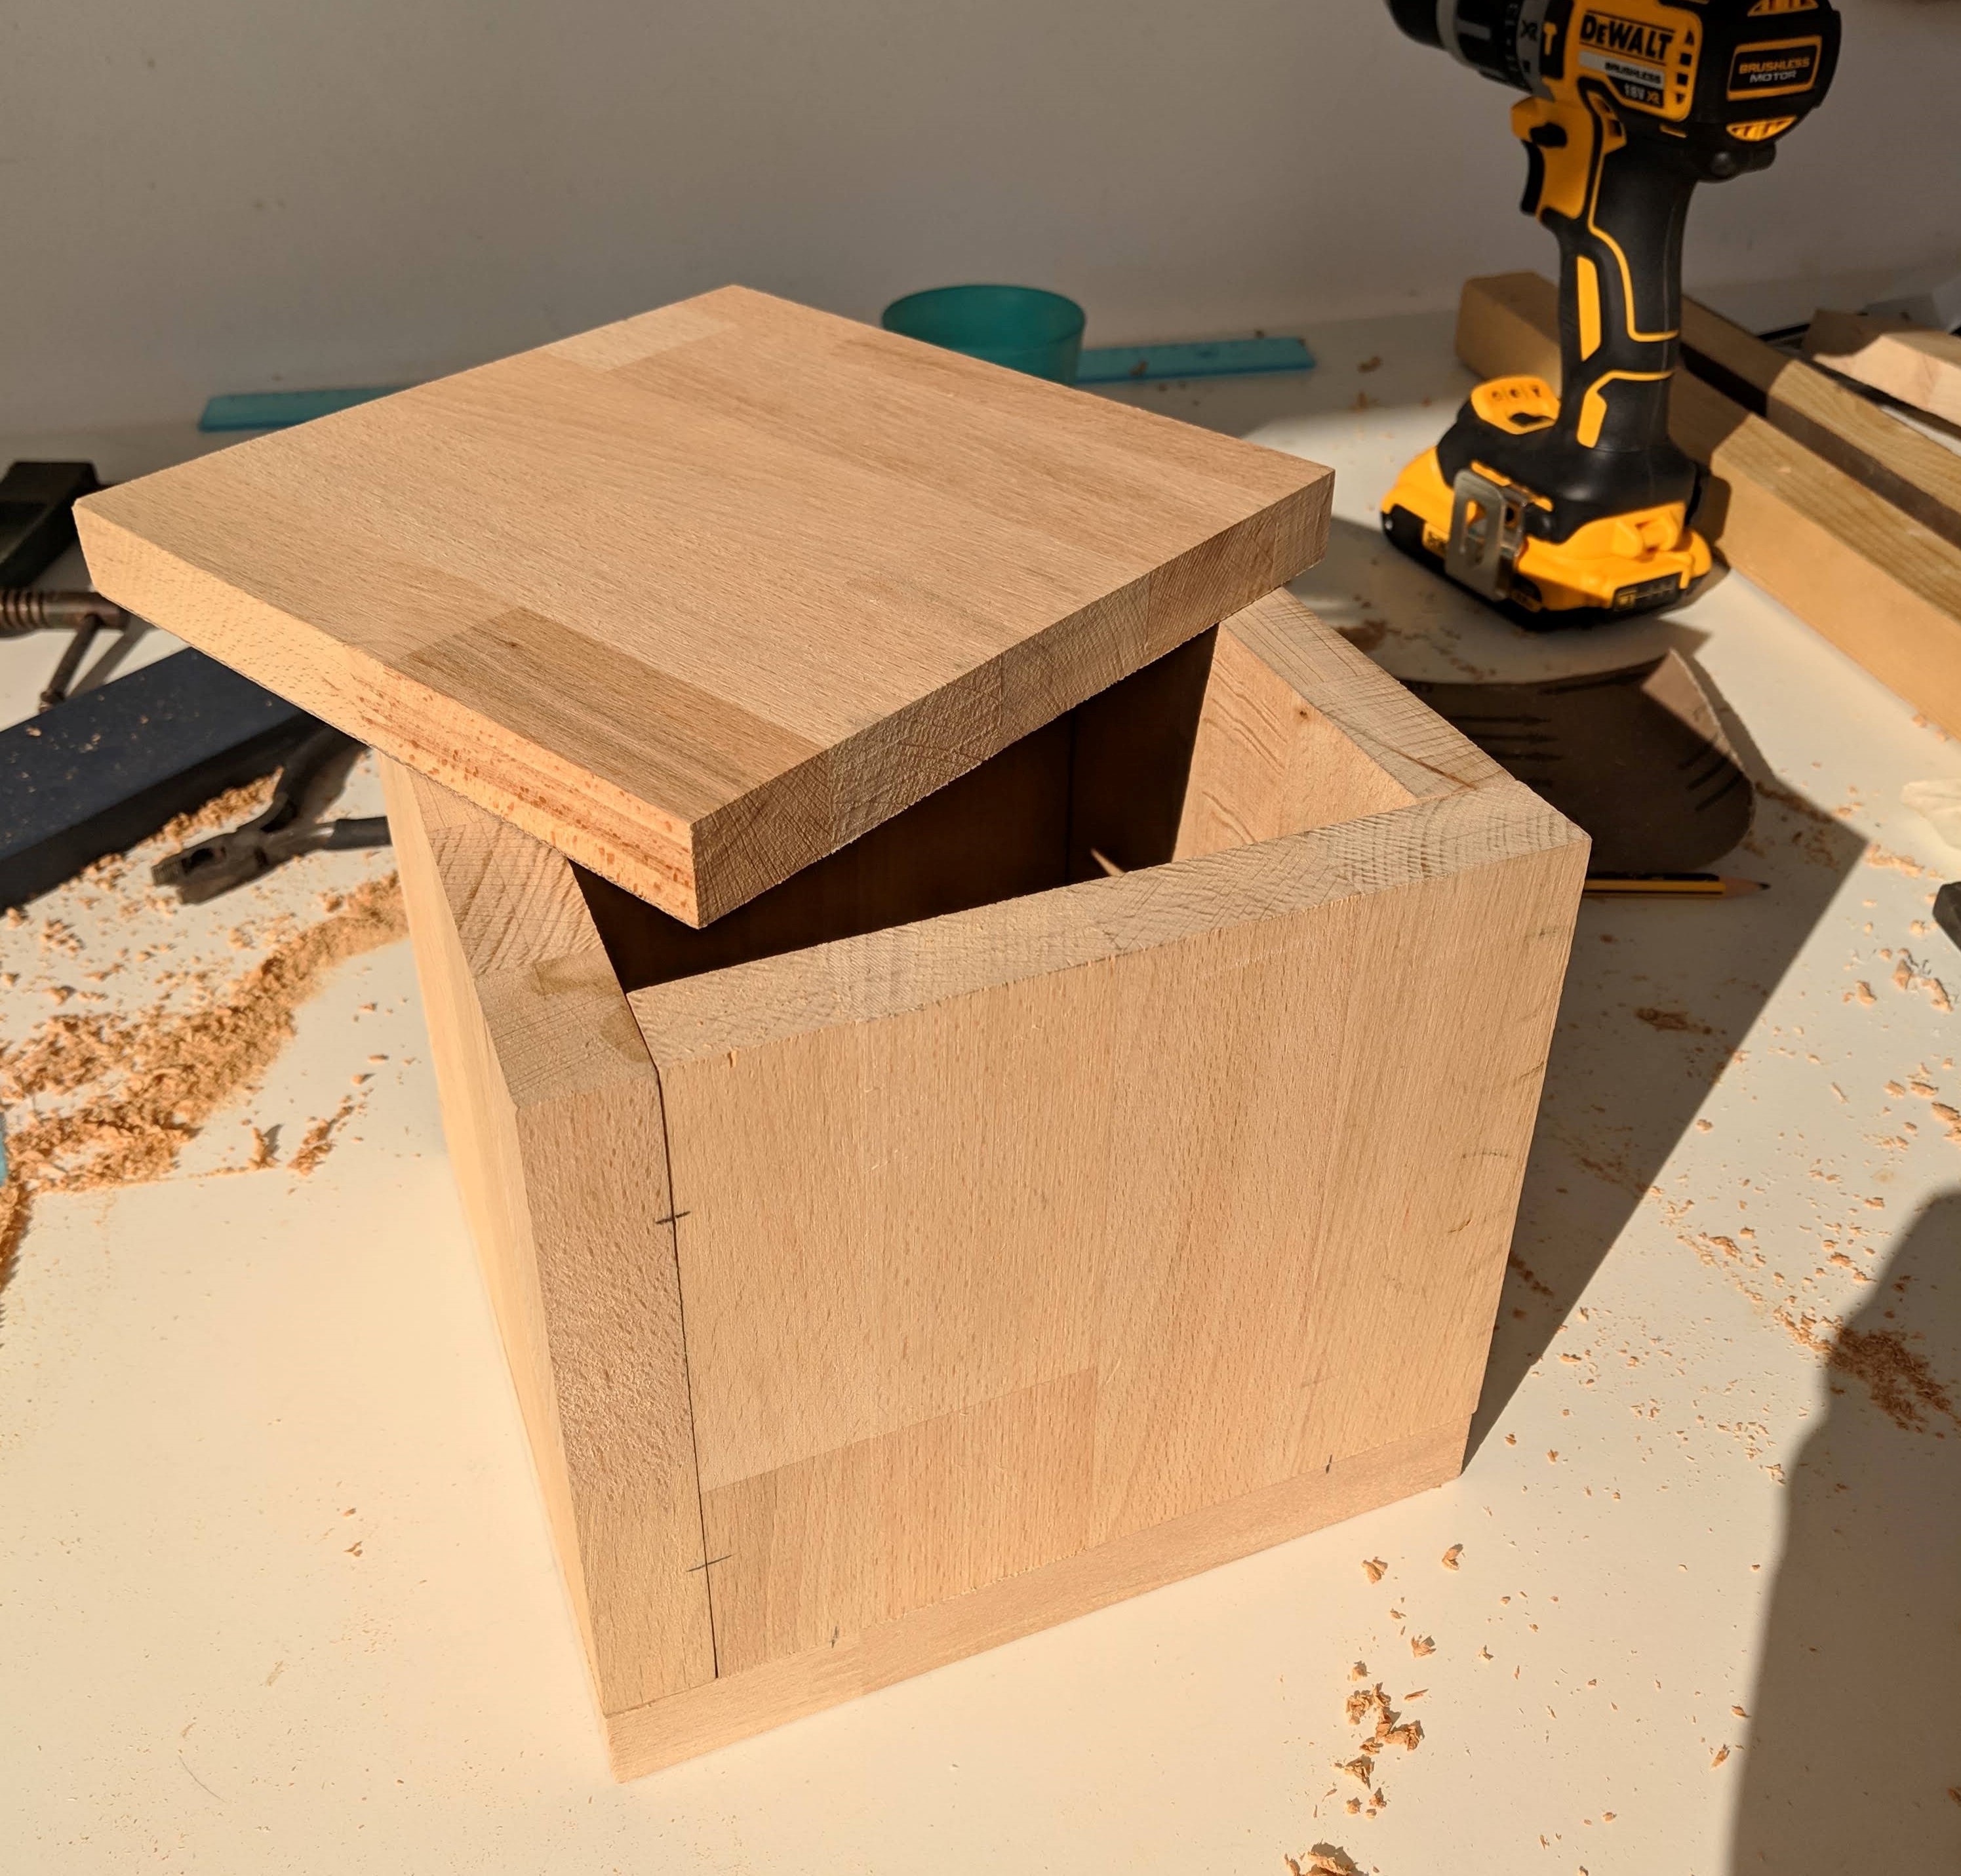
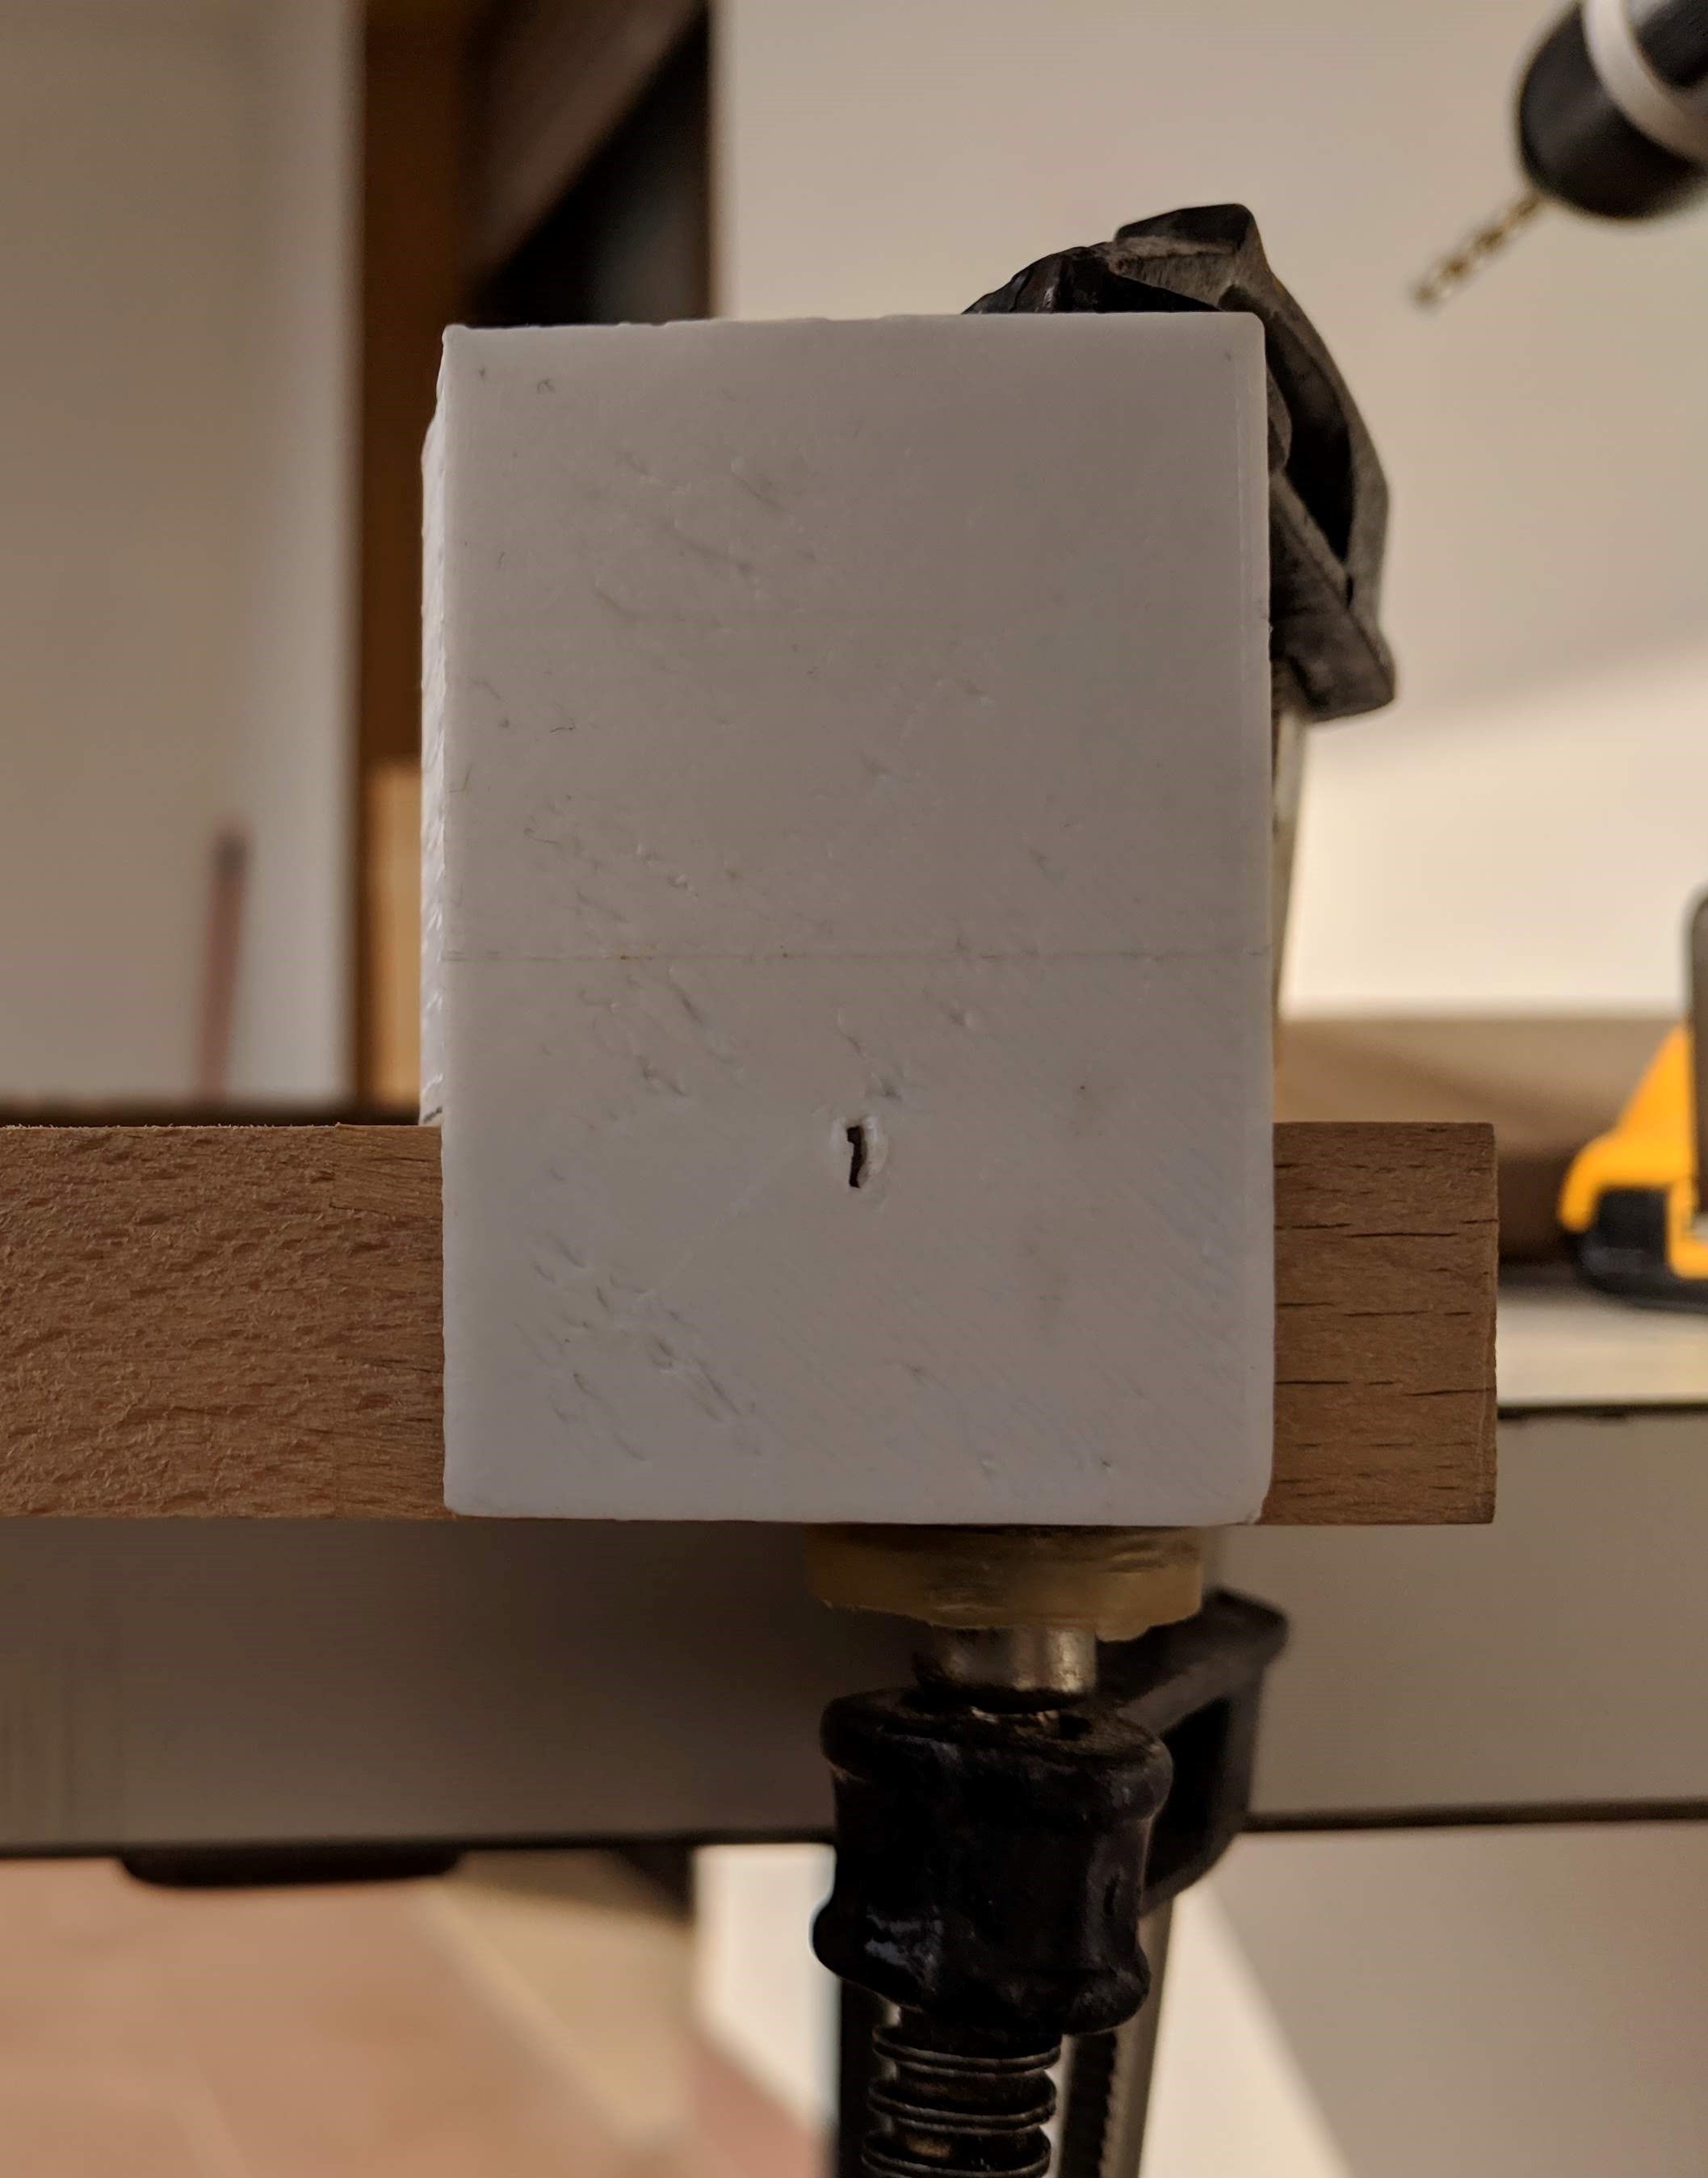
I drilled holes for dowels to keep everything aligned during the glue-up. In hindsight, dowels were unnecessary. I 3D printed a simple jig to drill straight holes at a fixed distance from the board’s edge. By the time I drilled the last hole, the jig was nearly destroyed, but it served its purpose. Next time, I might invest in a more durable jig.
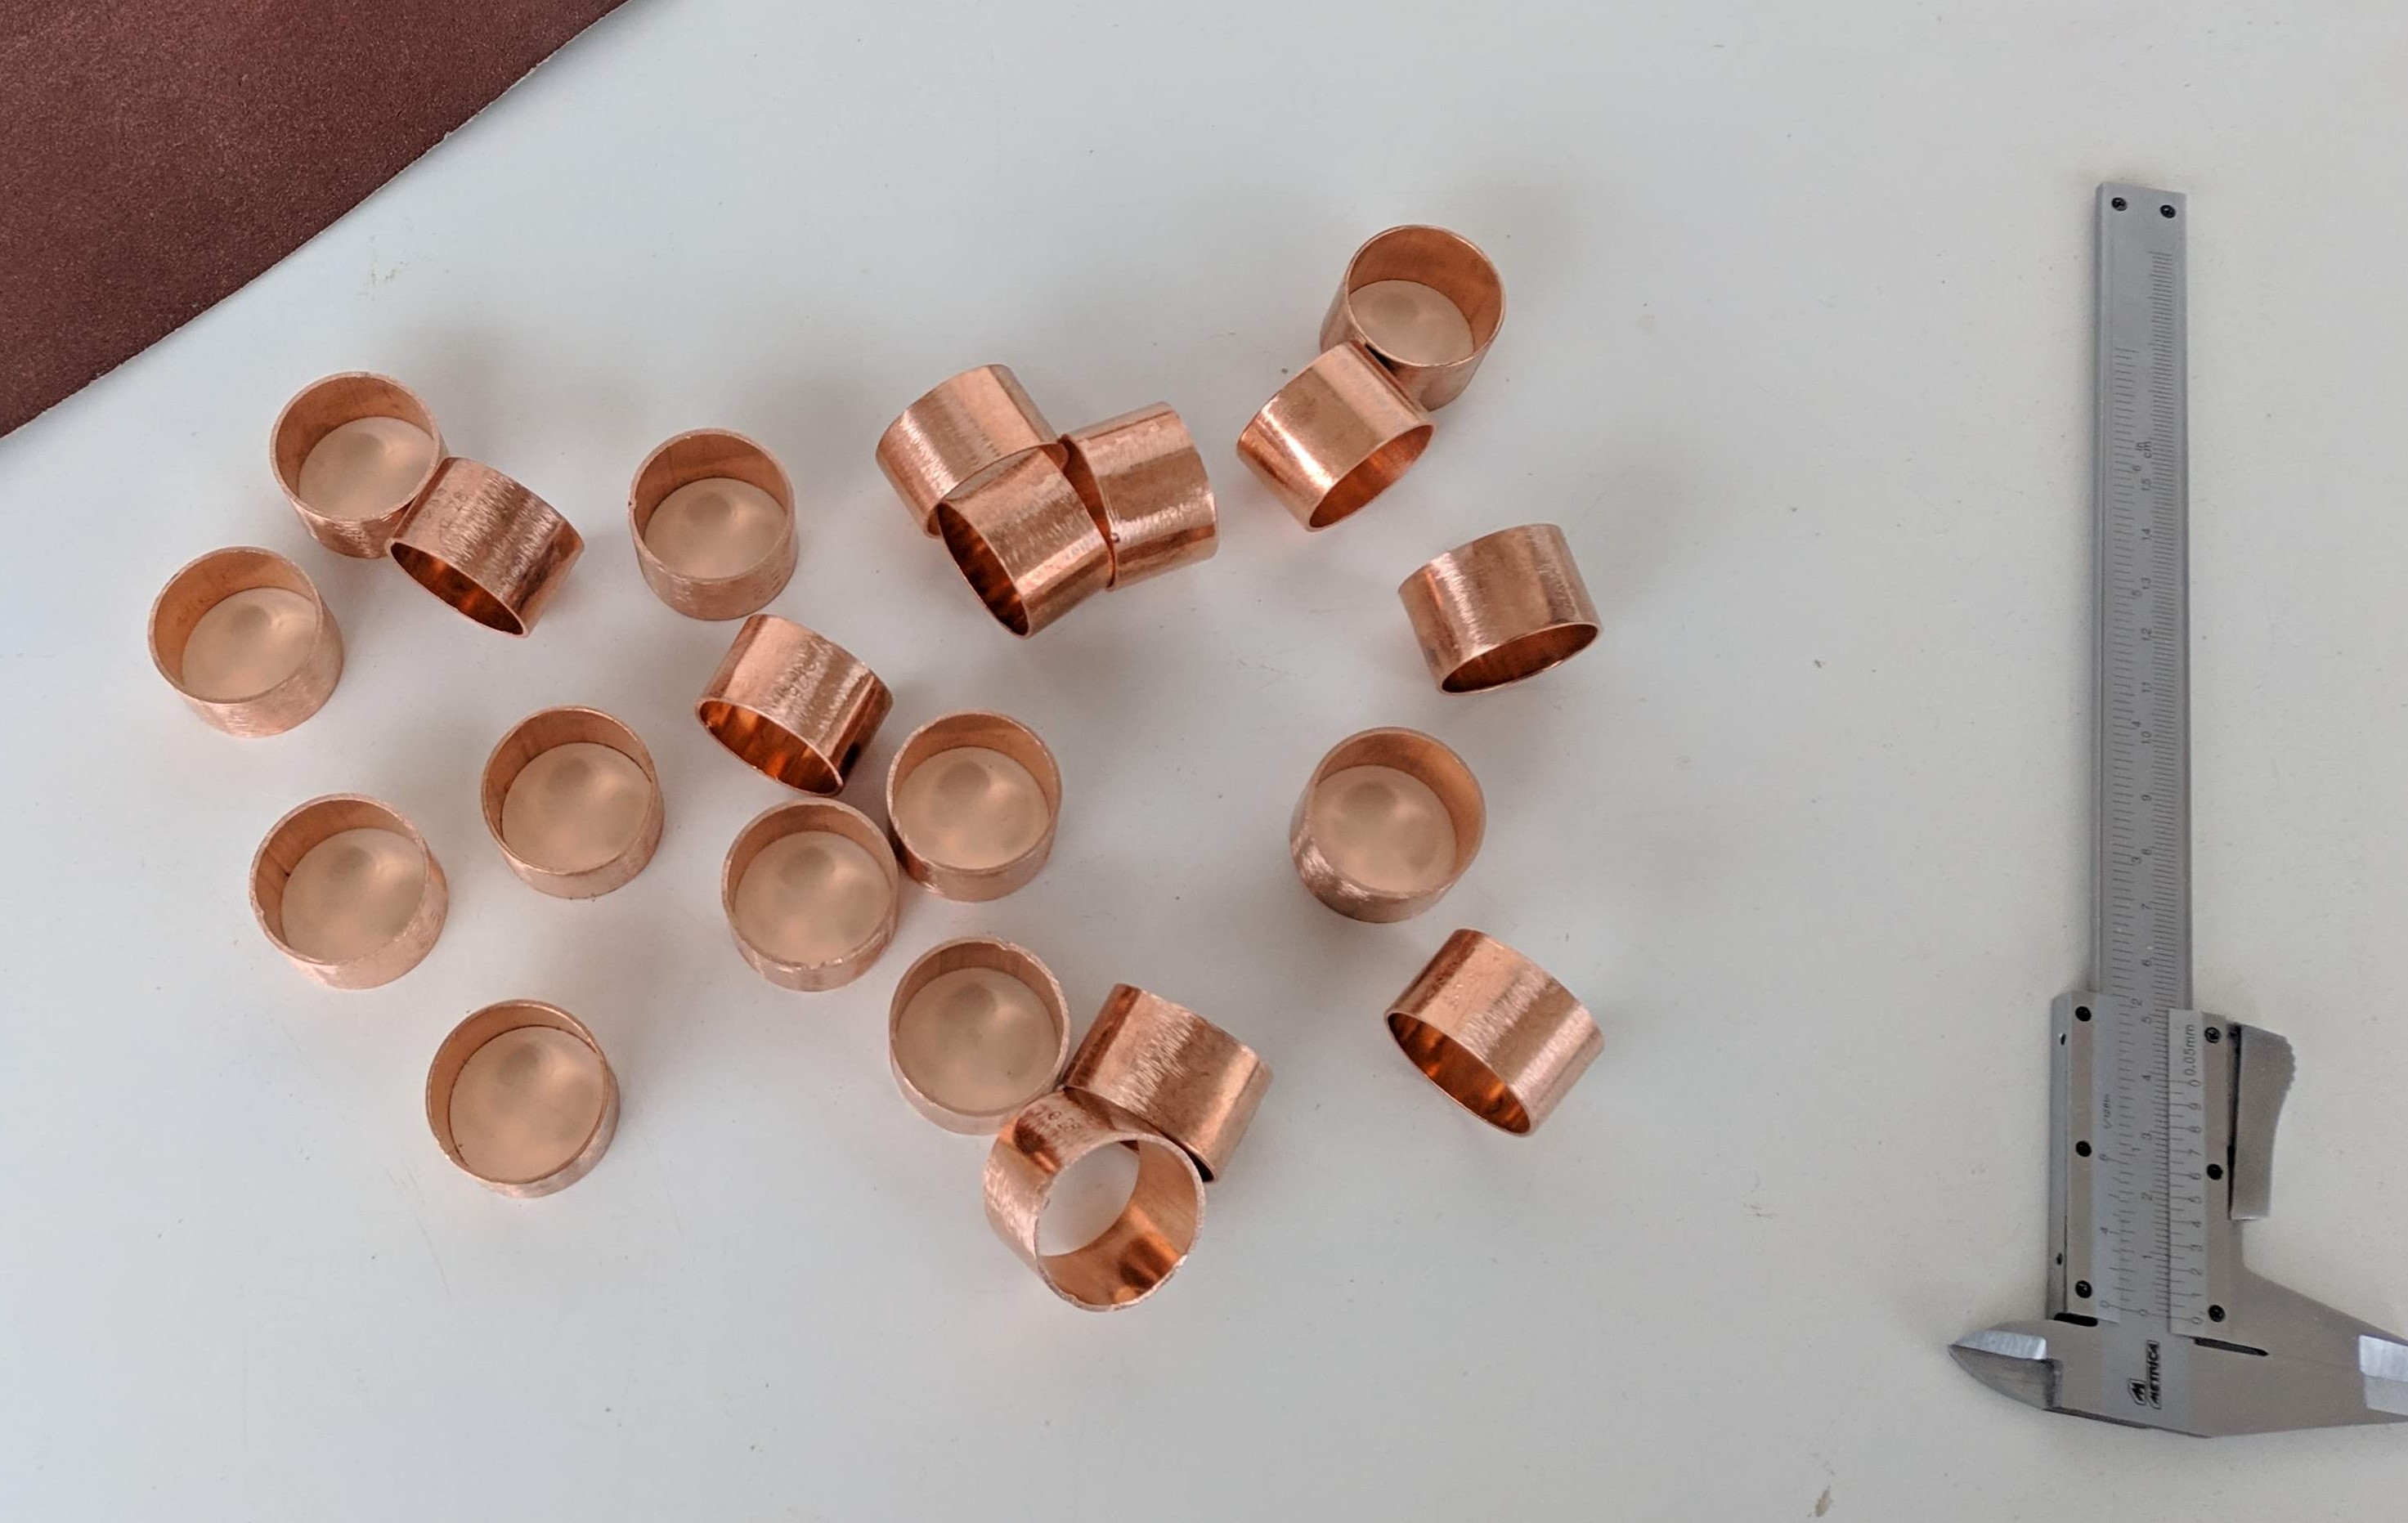
I marked the center of each hole by tracing the diagonals of every face. The copper fittings, sourced from 28 mm copper pipes found at the hardware store, were cut in half using a hacksaw as they were too long. To prevent oxidation, I coated the inside of the copper cylinders with transparent spray paint. They were then glued in place with wood glue, though the fit was already quite tight.
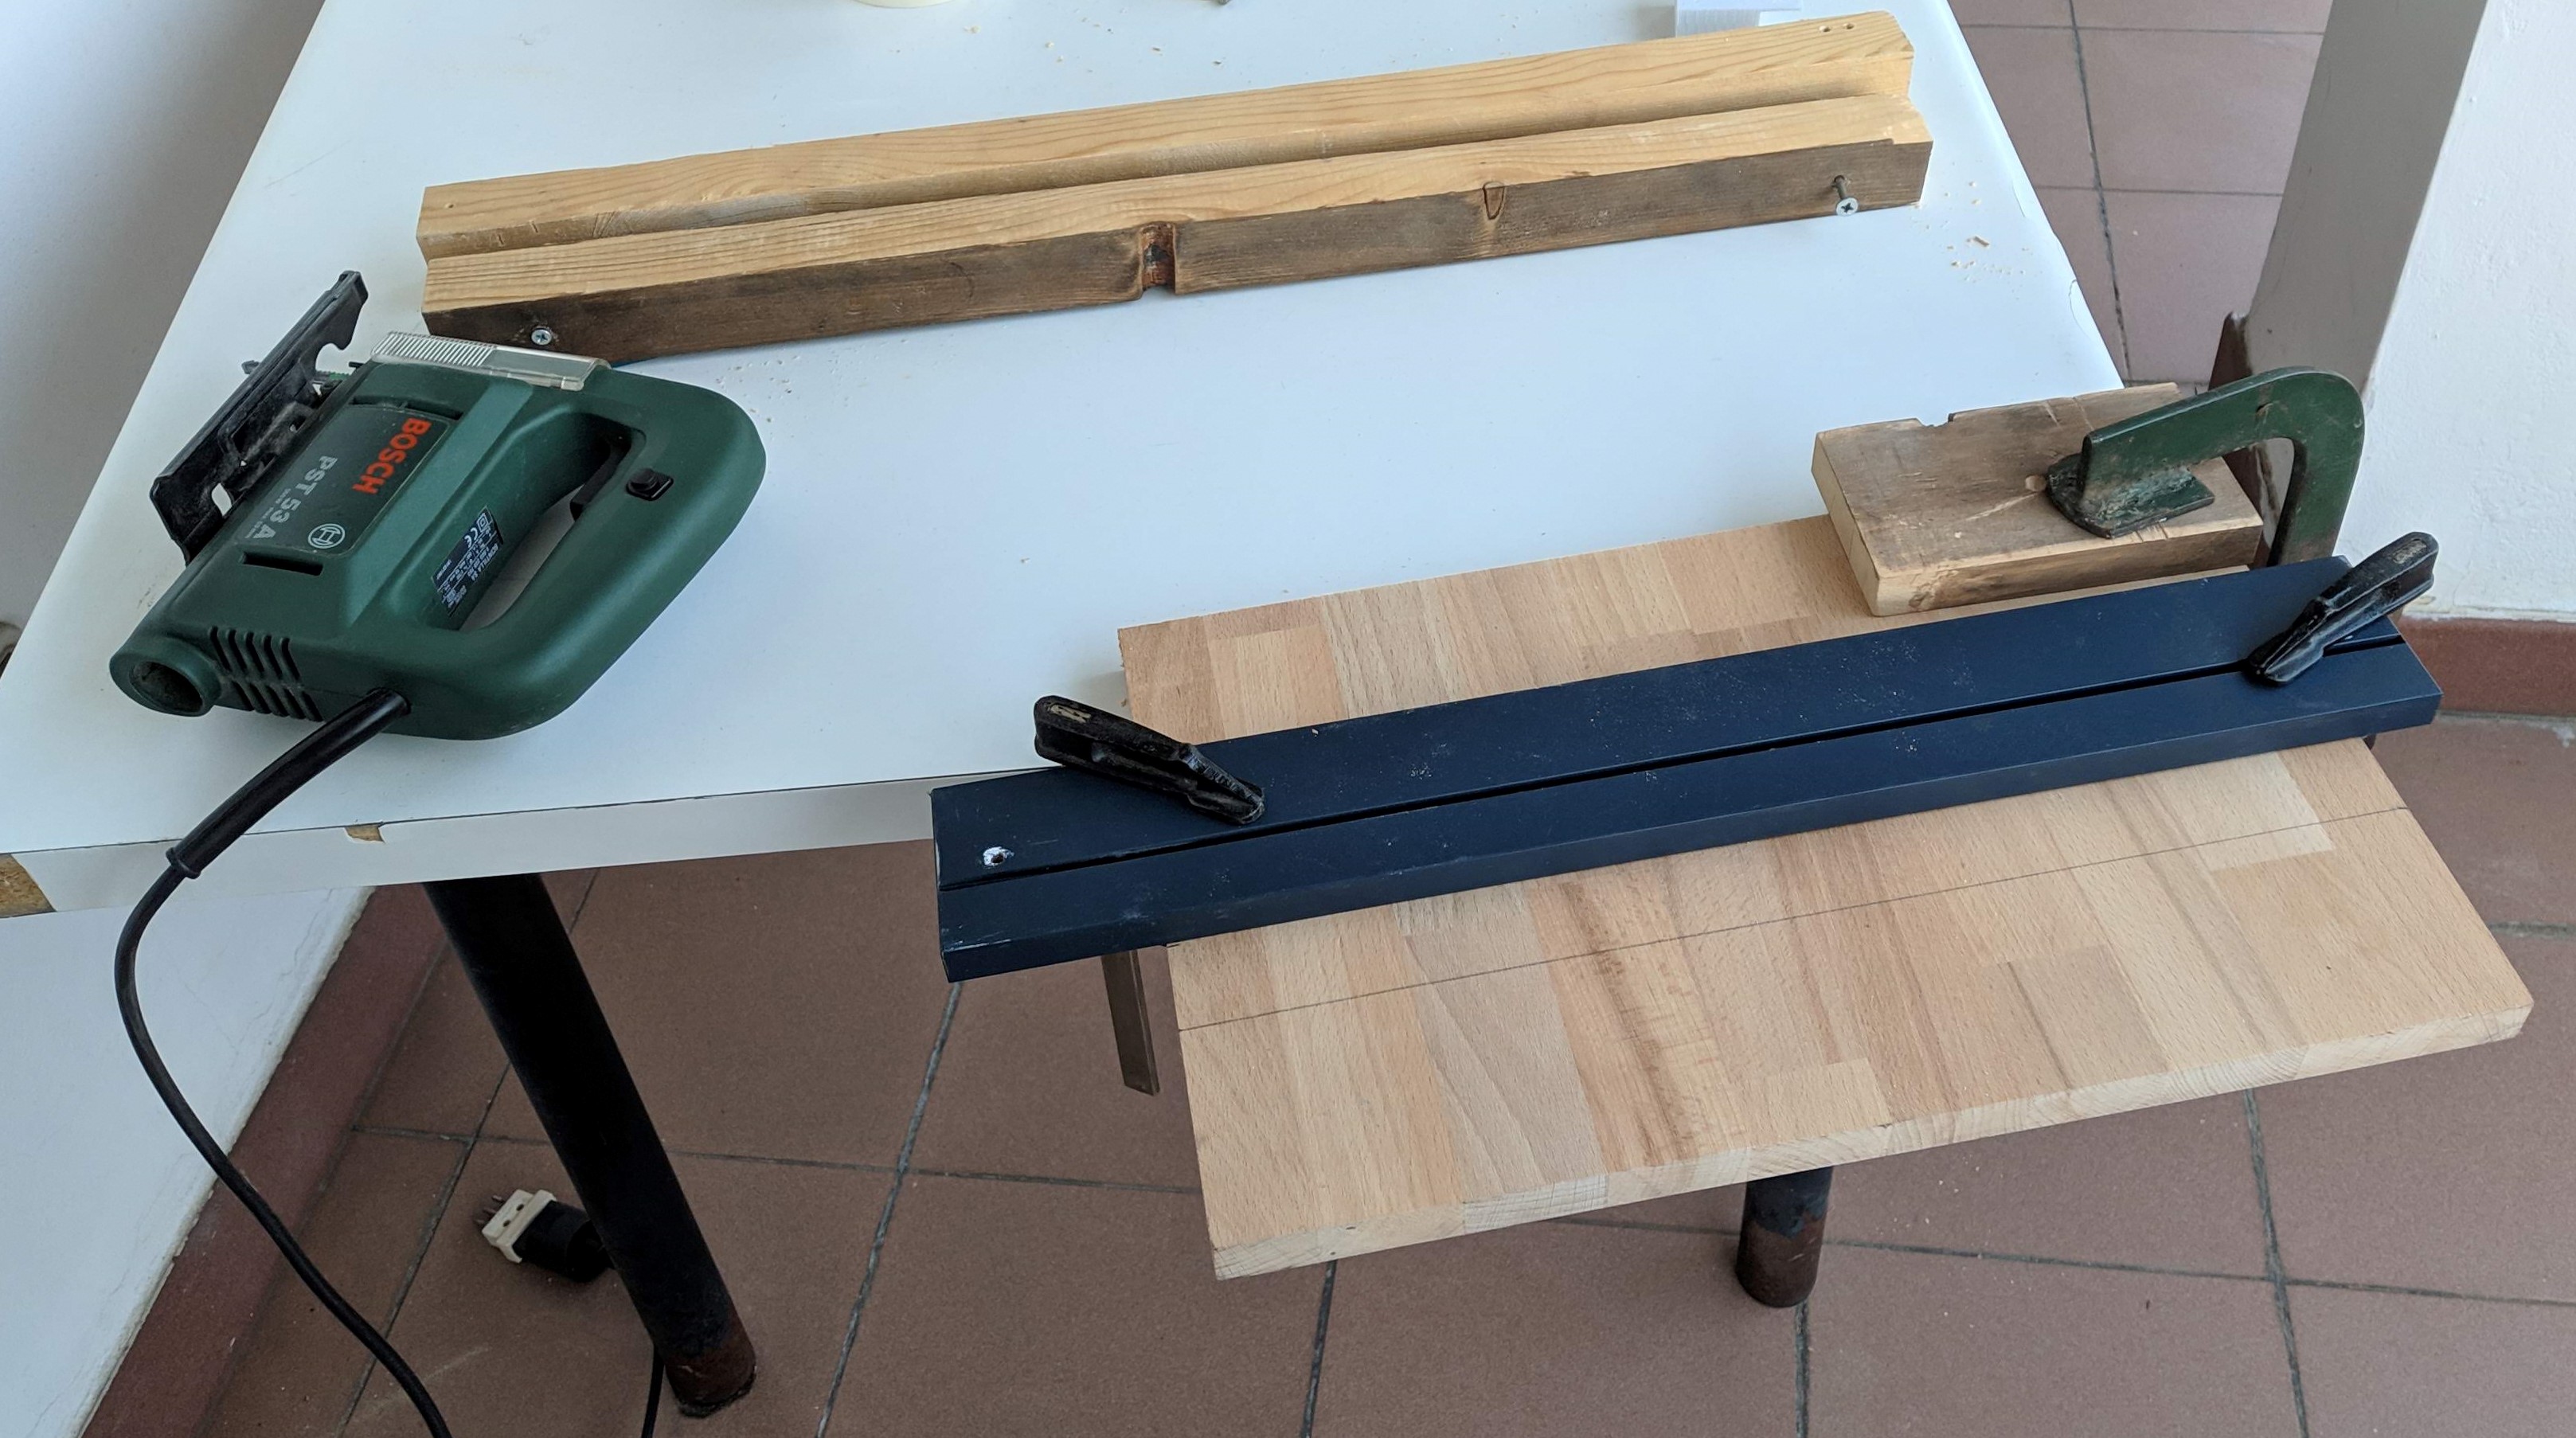
I cut a 4 mm PMMA sheet into twenty-one 4x4 cm squares and sanded them with 300-grit sandpaper to create a matte finish for light diffusion. These were glued inside the cube using Acryfix plexiglass glue. For the final assembly, I used Vinavil Legno glue and a set of clamps. I left the top face (the one with six holes) unglued to fit the electronics. A small hole was drilled for the power switch and USB port.


The Electronics
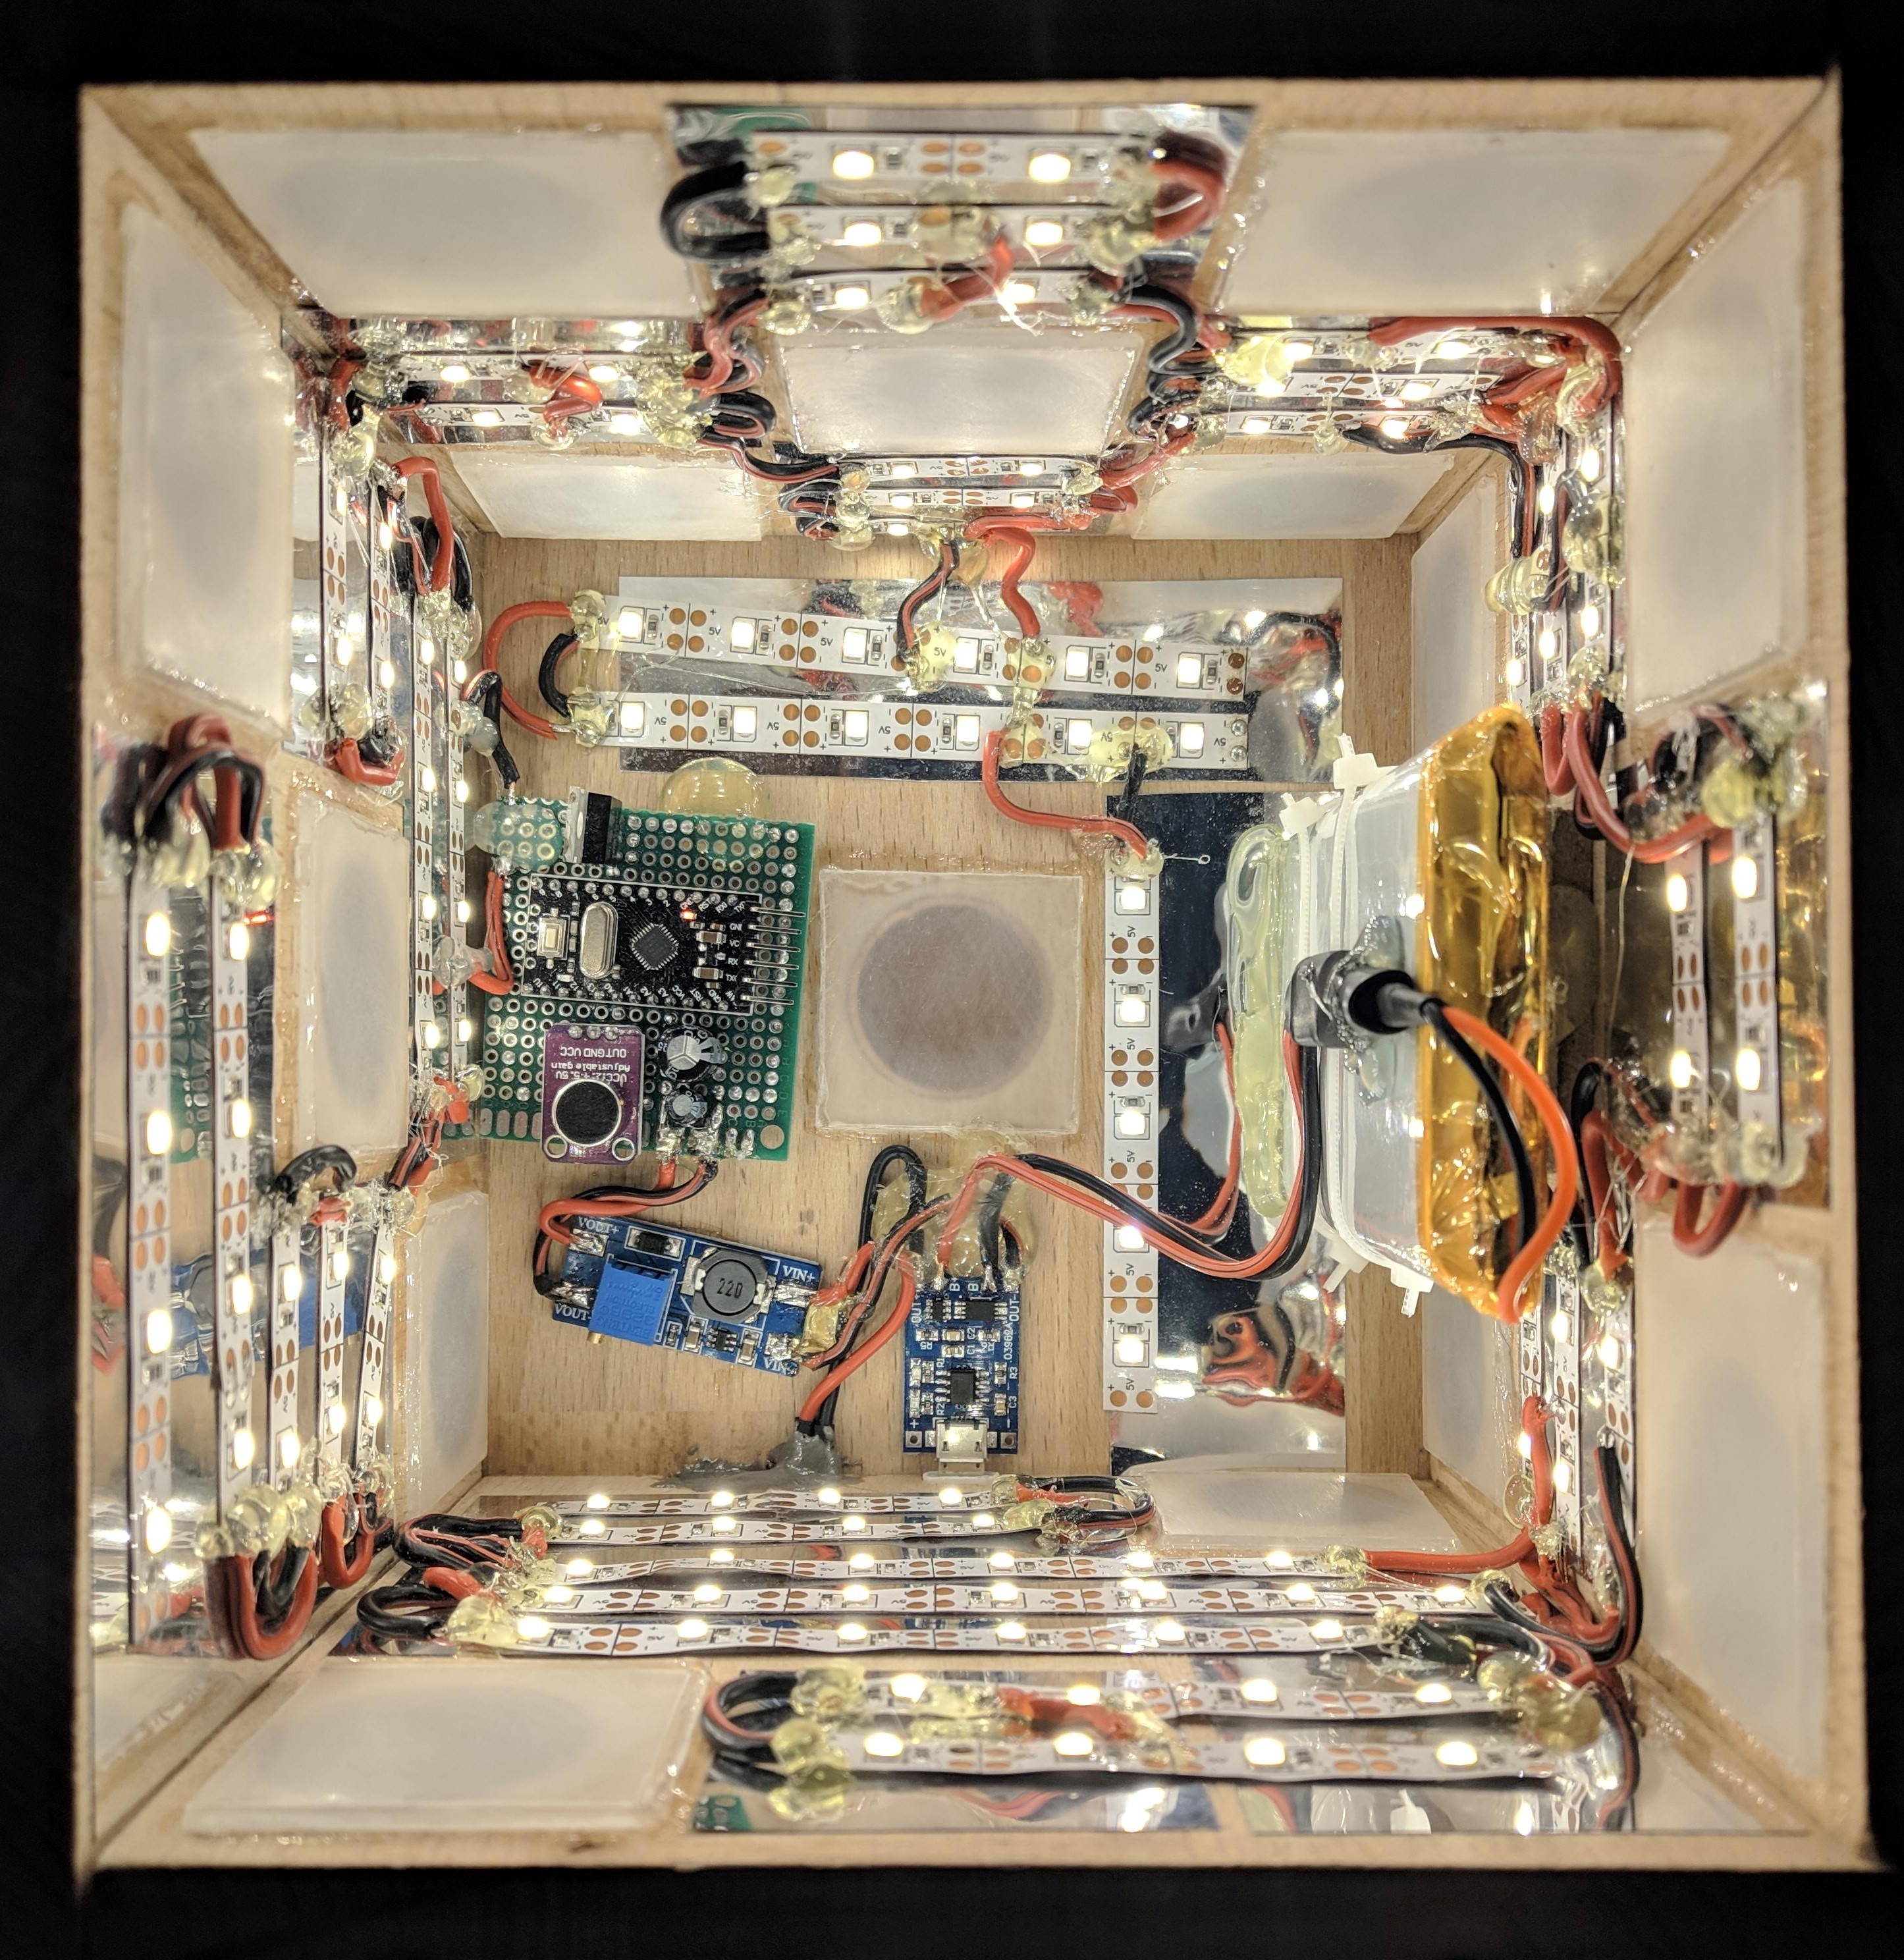
For this project, I used an Arduino Pro Mini and a programmer purchased from Aliexpress. I experimented with various microphones and sensors to find the most effective one for detecting knocks. Additionally, I bought a TP4056 lithium battery charger, which originally came with a micro USB port. However, I preferred a Type-C connector for uniformity, so I also acquired a micro USB to Type-C adapter. For the LEDs, I selected a 5V warm white strip and used a 5V step-up converter. To control the LED brightness, I incorporated an N-channel MOSFET. The entire setup is powered by a 10,000 mAh lithium polymer battery.
The Arduino Sketch
Although I am not a programmer, I found many Arduino sketches online that helped me learn. My program instructs the microcontroller to monitor the analog pin for voltage levels from the microphone that exceed a set threshold. When this threshold is surpassed, the Arduino detects the first “knock” and then waits for another voltage peak within the next 400ms. If a second “knock” is detected, the Arduino gradually increases the brightness of the LED strip and resumes monitoring. The simplicity of this program is effective, likely due to the quality microphone I used instead of opting for a cheaper one from Aliexpress.
Problem I encountered and possible fixes
As a perfectionist, I am quite pleased with this light, but there are a few improvements I could make in the next iteration.
The primary issue is that the battery drains even when the LEDs are off. The Arduino has a red LED that remains on, and the boost converter is always active. For the next version, I plan to write better software to enable the Arduino to sleep. Additionally, the boost converter circuit should be turned off when not in use. Although I included a switch to cut power to the Arduino and boost circuit, it disrupts the clean aesthetic of the cube.
Another battery-related problem is the short lifespan due to the LEDs being too bright. I attempted to use PWM to dim them slightly, but the frequency was picked up by the microphone, which interpreted the noise as a “knock knock,” causing the cube to shut down. I added capacitors near the microphone to smooth the input voltage, but ultimately decided to run the LEDs at full brightness. The light has been stable, but I need to improve both the electronics and software in the next version.
Currently, there is no way to dim the LEDs, and the only user input it can register is a loud knock. The next version will allow individual LED control, making it more flexible and extending battery life. While I like the look of beechwood, I am not fond of glulam. Because I had to cut the boards at 90°, the endgrain is visible at the top and bottom of the cube. The next version will be made of solid wood with mitered corners to hide the endgrain.
Stay tuned for the next version!